Introduction
Updated for Next.js 15. When it comes to deploying a Next.js app to production, generally everyone thinking starts from Vercel, and ends with Netlify, Firebase type providers. Not only are these providers very expensive, but they also have a lot of limitations. A wrong configuration in your serverless function can lead to a big bill, like this story where a Solo developer got a $100000 bill from Vercel because her app went viral.
So, you might be asking yourself, what we can do?
Unlike frameworks like Remix, you can not easily deploy a Next.js without going through hoops, especially if you checkout their .next folder. But, the good news is that vercel hasn’t left you without options. There is a simple way on how you can run a Next.js app using Node.js, without any serverless functions drama, direclty in optmized way.
We will go through steps by steps, this time on how we can make the most efficient Dockerized Next.js app.
Setting up the project
- Create a new Next.js app
npx create-next-app@latest nextjs-app- Install the dependencies
npm install- Build the app
npm run build- Create a Dockerfile
FROM node:23-alpine

RUN npm install -g pnpm

COPY . .

RUN pnpm install

RUN pnpm run build

EXPOSE 3000

CMD ["pnpm", "run", "start"]
This Dockerfile will build the Next.js app and install the dependencies in production mode, but its terrible for the performance and the size of the image will be huge.
Rather than using the stock repo, I will be using a personal production project for the real world example, so some things will be different, but the core concept will be the same.
- Now create the docker image
docker build -t nextjs-app .Open the Docker Desktop and you should see the image there.

and as you see, its 1.53 GB, it’s huge and absolutely terrible for the performance and it took like 3 minutes to build, and because it has no cache, every time you make a change, you have to rebuild the image.
- Run the docker image
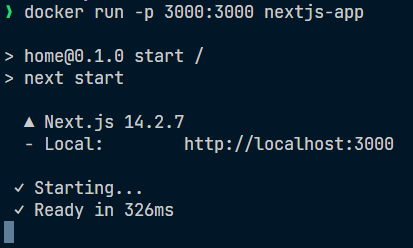
docker run -p 3000:3000 nextjs-appYou will see the terminal output, and the app will be running on port 3000, it’s typical nextjs output, but this time it’s running directly on Node.js, without any serverless functions.
- Open the app in the browser
http://localhost:3000
and everything seems to be working fine, but we are not done yet.
Optimizing the Docker image
- Now let’s add multi-stage build to the Dockerfile
FROM node:23-alpine AS base

# Install pnpm globally
RUN npm install -g pnpm

# Set the working directory
WORKDIR /app

# Copy all files to the working directory
COPY . .

# Install dependencies
RUN pnpm install

FROM base AS builder

# Build the application
RUN pnpm run build

FROM node:23-alpine AS runner

# Install pnpm in the runner stage
RUN npm install -g pnpm

# Set the working directory
WORKDIR /app

# Copy the necessary files from the builder stage
COPY --from=builder /app/.next ./.next
COPY --from=builder /app/public ./public
COPY --from=builder /app/package.json ./package.json
COPY --from=builder /app/pnpm-lock.yaml ./pnpm-lock.yaml

# Install only production dependencies
RUN pnpm install --prod

EXPOSE 3000

# Start the application
CMD ["pnpm", "run", "start"]
This is a multi-stage build, the first stage is the base stage, where we install the dependencies and the second stage is the builder stage, where we build the app and then we copy the built app from the builder stage to the runner stage and then we run the app.
- Build the image again
docker build -t nextjs-app .This time, it took around 1.5 minutes to build. And the image size is 1.36 GB, not much better if you ask me.

- Run the image again
docker run -p 3000:3000 nextjs-app- Open the app in the browser
http://localhost:3000and everything seems to be working fine, but we are not done yet.
More optimizations
- Update your next.config.ts to use the standalone build
import type { NextConfig } from "next";

const nextConfig: NextConfig = {
  /* config options here */
  output: "standalone",
};

export default nextConfig;
This will make the Next.js app a standalone app, so you can run it directly from the Node.js, without any serverless functions.
- Update the Dockerfile to use the standalone build
FROM node:23-alpine AS base

# Install pnpm globally
RUN npm install -g pnpm

# Set the working directory
WORKDIR /app

# Copy all files to the working directory
COPY . .

# Install dependencies
RUN pnpm install

FROM base AS builder

# Build the application
RUN pnpm run build

FROM node:23-alpine AS runner

# Install pnpm in the runner stage
RUN npm install -g pnpm

# Set the working directory
WORKDIR /app

# Copy the necessary files from the builder stage for the standalone build
COPY --from=builder /app/.next/standalone ./

# Expose the port
EXPOSE 3000

# Start the application
CMD ["node", "server.js"]
As you see, we are not copying the entire .next folder, and neither we are copying the node_modules folder, because we are using the dependencies from the base stage.
The first build will take some time, because it has to install the dependencies and build the app, but the second build will be much faster, because it will use the cache from the base stage.
- Build the image again
docker build -t nextjs-app .
This time it took around 40 seconds to build, and the image size is just 287 MB, which is amazing if you compare it to the previous image.
- Run the image again
docker run -p 3000:3000 nextjs-app- Open the app in the browser
http://localhost:3000
Doesn’t this look amazing? cough cough WHERE ARE MY STYLES AND IMAGES?

Hey! don’t give me that look, I know what I did, we are almost done. This is how the things are supposed to be, we are on the right path. Apparently the standalone build only contains the node_modules for the dependencies that are used in the app, and the css, images etc are not included in it.
Now it’s time to fix it.
- Update the Dockerfile to copy assets correctly
FROM node:23-alpine AS base

# Install pnpm globally
RUN npm install -g pnpm

# Set the working directory
WORKDIR /app

# Copy all files to the working directory
COPY . .

# Install dependencies
RUN pnpm install

FROM base AS builder

# Build the application
RUN pnpm run build

FROM node:23-alpine AS runner

# Install pnpm in the runner stage
RUN npm install -g pnpm

# Set the working directory
WORKDIR /app

# Copy the necessary files from the builder stage for the standalone build
COPY --from=builder /app/.next/standalone ./
COPY --from=builder /app/public ./public
COPY --from=builder /app/.next/static .next/static

# Expose the port
EXPOSE 3000

# Start the application
CMD ["node", "server.js"]
We added 2 lines, one to copy the static folder and the other to copy the public folder. The static folder contains the css, images, fonts etc, and the public folder contains the favicon, images, and other static assets.
COPY --from=builder /app/public ./public
COPY --from=builder /app/.next/static .next/static- Build the image again
docker build -t nextjs-app .Your image size will increase a bit according to how much assets you have, but it’s still much better than the previous image.

- Run the image again
docker run -p 3000:3000 nextjs-app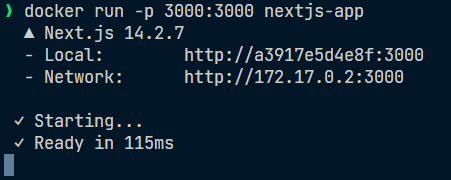
- Open the app in the browser
http://localhost:3000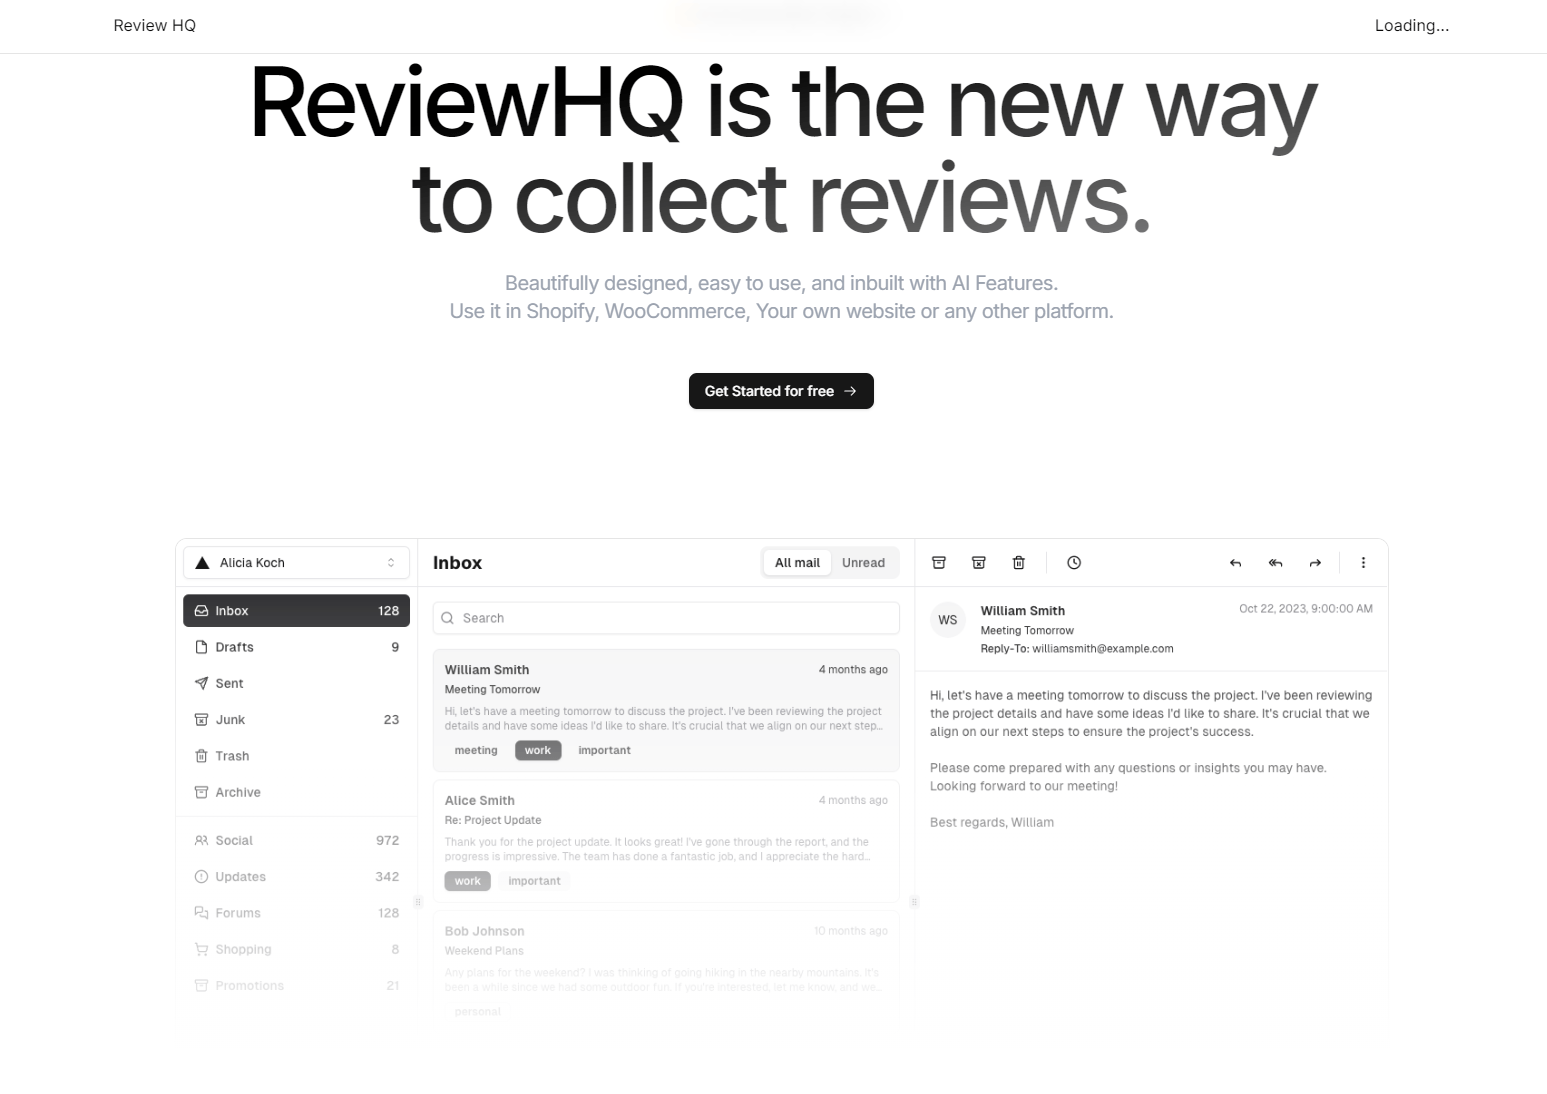
And everything seems to be working fine, and the best part is that the image size is only 290 MB, and it’s still running directly on Node.js, without any serverless functions.
Now you can just push this image to your favorite registry, and you are done.
If you want to learn more about the standalone build, you can checkout the official documentation.
Deployment related optimizations
- Secure Docker Image
Currently we are running it as root, which is not a good practice, so let’s run it as a non-root user.
FROM node:23-alpine AS base

# Install pnpm globally
RUN npm install -g pnpm

# Set the working directory
WORKDIR /app

# Copy package.json and pnpm-lock.yaml to install dependencies first
COPY package.json pnpm-lock.yaml ./

# Install dependencies
RUN pnpm install


FROM base AS builder

# Copy the rest of the application files
COPY . .

# Build the application
RUN pnpm run build

FROM node:23-alpine AS runner

# Install pnpm in the runner stage
RUN npm install -g pnpm

# Set the working directory
WORKDIR /app

# Copy the necessary files from the builder stage for the standalone build
COPY --from=builder /app/.next/standalone ./
COPY --from=builder /app/public ./public
COPY --from=builder /app/.next/static .next/static

# Change ownership of the files to the node user
RUN chown -R node:node /app

# Switch to the non-root user
USER node

# Add healthcheck for container monitoring
HEALTHCHECK --interval=30s --timeout=30s --start-period=5s --retries=3 \
  CMD wget --no-verbose --tries=1 --spider http://localhost:3000/api/health || exit 1

ENV NODE_ENV=production
ENV NEXT_TELEMETRY_DISABLED=1
ENV PORT=3000
ENV HOSTNAME=0.0.0.0

EXPOSE 3000

CMD ["node", "server.js"]
The added HEALTHCHECK instruction helps container orchestrators monitor the health of your Next.js application. Make sure to implement the corresponding health check endpoint in your application.
If you had paid attention, there was a problem in the initial dockerfiles, we were copying everything in the first stage itself, so the caching would have had failed since no matter what file we edit, the caching would be invalidated. Now we are only copying the package.json and pnpm-lock.yaml in the first stage, and the rest of the files in the build stage, so the caching will work.
- This is a sample healthcheck endpoint in nextjs 15 api routes, you can use it in your own application.
// app/api/health/route.ts
export async function GET(request: Request) {
  return new Response("OK");
}
Healthcheck is a good practice, it’s not only for the container orchestrators, but also for the load balancers, so they can know if the container is healthy or not. Docker etc, can also use it to know if the container is healthy or not.
Using Github actions
If you are running this in Github Actions, elsewhere, you can build the nextjs app in the github actions itself, and only do the final stage, and set it to copy from the local files like this.
- Github Actions cicd.yml
name: Staging CI/CD

on:
  push:
    branches:
      - main

jobs:
  build-and-test-deploy:
    name: Test, Build, Push
    runs-on: ubuntu-latest

    steps:
      - name: Checkout code
        uses: actions/checkout@v4
      - uses: pnpm/action-setup@v3
        with:
          version: 10
      - uses: actions/setup-node@v4
        with:
          node-version: 23
          cache: "pnpm"
      - name: Cache node_modules and Nextjs build files
        uses: actions/cache@v4
        with:
          path: |
            ~/.npm
            ~/.cache
            ./node_modules
            ${{ github.workspace }}/.next/cache
          key: ${{ runner.os }}-nextjs-${{ hashFiles('**/pnpm-lock.yaml') }}-${{ hashFiles('**/*.js', '**/*.jsx', '**/*.ts', '**/*.tsx') }}
          restore-keys: |
            ${{ runner.os }}-nextjs-${{ hashFiles('**/pnpm-lock.yaml') }}-

      - name: Install dependencies
        run: pnpm install

      - name: Build
        run: pnpm build

      - name: Build Docker Image
        env:
          IMAGE_TAG: ${{ github.sha }}
        run: docker build -t nextjs-app .
FROM node:23-slim AS runner
WORKDIR /app
ENV NODE_ENV=production
ENV NEXT_TELEMETRY_DISABLED=1
ENV PORT=3000
ENV HOSTNAME=0.0.0.0
# Copy the .next directory and other built artifacts to the container
COPY .next/standalone ./
COPY public ./public
COPY .next/static .next/static
# Add healthcheck for container monitoring
HEALTHCHECK --interval=30s --timeout=30s --start-period=5s --retries=3 \
CMD wget --no-verbose --tries=1 --spider http://localhost:3000/api/health || exit 1
USER node
EXPOSE 3000
# Start the Next.js app
CMD ["node", "server.js"]We are using docker image node:23-slim, because it’s based on Debian, and the github actions runner is based on Ubuntu, so we need to use the same base image.
Generally it’s safer to use the debian based image, because it’s more compatible with various internal libraries.
Cache handler for Vercel like caching.
Currently, it won’t have any caching, so the RSC, SSR etc, won’t be as fast as how it’s in vercel. But it’s not all dark, we can still get similar behaviour on our own.
- Update the next.config.ts to use the cache handler
import type { NextConfig } from "next";

const nextConfig: NextConfig = {
  /* config options here */
  output: "standalone",
   cacheHandler:
    process.env.NODE_ENV === "production"
      ? require.resolve("./cache-handler.js")
      : undefined,
  env: {
    NEXT_PUBLIC_REDIS_INSIGHT_URL:
      process.env.REDIS_INSIGHT_URL ?? "http://localhost:8001",
  },
};

export default nextConfig;- Create a cache-handler.js file
const { CacheHandler } = require("@neshca/cache-handler");
const createRedisHandler = require("@neshca/cache-handler/redis-stack").default;
const createLruHandler = require("@neshca/cache-handler/local-lru").default;
const { createClient } = require("redis");
const { PHASE_PRODUCTION_BUILD } = require("next/constants");

/* from https://caching-tools.github.io/next-shared-cache/redis */
CacheHandler.onCreation(async () => {
  let client;
  // use redis client during build could cause issue https://github.com/caching-tools/next-shared-cache/issues/284#issuecomment-1919145094
  if (PHASE_PRODUCTION_BUILD !== process.env.NEXT_PHASE) {
    try {
      // Create a Redis client.
      client = createClient({
        url: process.env.REDIS_URL ?? "redis://localhost:6379",
      });

      // Redis won't work without error handling.
      // NB do not throw exceptions in the redis error listener,
      // because it will prevent reconnection after a socket exception.
      client.on("error", (e) => {
        if (typeof process.env.NEXT_PRIVATE_DEBUG_CACHE !== "undefined") {
          console.warn("Redis error", e);
        }
      });
    } catch (error) {
      console.warn("Failed to create Redis client:", error);
    }
  }

  if (client) {
    try {
      console.info("Connecting Redis client...");

      // Wait for the client to connect.
      // Caveat: This will block the server from starting until the client is connected.
      // And there is no timeout. Make your own timeout if needed.
      await client.connect();
      console.info("Redis client connected.");
    } catch (error) {
      console.warn("Failed to connect Redis client:", error);

      console.warn("Disconnecting the Redis client...");
      // Try to disconnect the client to stop it from reconnecting.
      client
        .disconnect()
        .then(() => {
          console.info("Redis client disconnected.");
        })
        .catch(() => {
          console.warn(
            "Failed to quit the Redis client after failing to connect.",
          );
        });
    }
  }

  /** @type {import("@neshca/cache-handler").Handler | null} */
  let redisHandler = null;
  if (client?.isReady) {
    // Create the `redis-stack` Handler if the client is available and connected.
    redisHandler = await createRedisHandler({
      client,
      keyPrefix: "prefix:",
      timeoutMs: 1000,
    });
  }
  // Fallback to LRU handler if Redis client is not available.
  // The application will still work, but the cache will be in memory only and not shared.
  const LRUHandler = createLruHandler();
  console.warn(
    "Falling back to LRU handler because Redis client is not available.",
  );

  return {
    handlers: [redisHandler, LRUHandler],
  };
});

module.exports = CacheHandler;
Update the ENV variables accordingly, now when you horizontally scale your app, the cache can be shared across all the instances, and the cache will be much faster than the local-lru cache.
Read more about it here - Next.js Cache Handler
Caveats and Limitations
When self-hosting your Next.js application, there are several key features you won’t get compared to using Vercel:
Edge Functions and Global Distribution
- No automatic edge function deployment
- No built-in global CDN distribution
- You’ll need to set up your own CDN (e.g., Cloudflare, AWS CloudFront)
Infrastructure Management
- No automatic SSL/HTTPS management
- No automatic scaling and load balancing
- No built-in monitoring and analytics
- You’ll need to manage your own infrastructure
Development Experience
- No automatic preview deployments
- No built-in environment variable management
- No automatic branch deployments
- You’ll need to set up your own CI/CD pipeline
Performance Features
- While we can implement Redis caching, it’s not as sophisticated as Vercel’s edge cache
- No automatic cache invalidation and warming
- No automatic build optimization
- You’ll need to optimize performance manually
While these limitations exist, self-hosting gives you more control over your infrastructure and can be more cost-effective for certain use cases. You can also implement many of these features yourself using third-party services or custom solutions.
Middleware Support
Yes, this setup fully supports Next.js middleware! The standalone output mode includes middleware support, and it works exactly the same way as it does on Vercel. You can use middleware for:
- Authentication and authorization
- Request/response manipulation
- Redirects and rewrites
- Headers manipulation
- Edge runtime functions
The only difference is that middleware runs on your own infrastructure rather than Vercel’s edge network. If you need global distribution for your middleware, you’ll need to set up your own CDN or use a service like Cloudflare Workers.
Conclusion
In this article, we learned how to deploy a Next.js app to production without using Vercel, and we also learned how to optimize the image size and the build time.
We also saw how to use the cache handler to get similar behaviour to Vercel.
I hope you enjoyed reading this article as much as I enjoyed writing it.
You can now use this docker image to Coolify, Docker, Kubernetes, etc.
Thank you for reading.
Updates
- In Next.js 15, improved cache control headers was added, you can read more about it here.
- With Next.js 15, you no longer need to manually install sharp — Next.js will use sharp automatically when using next start or running with standalone output mode.